In this article 5 sections
- 1. First identify which direction is blocked
- 2. Test the input device in Windows
- 3. Check microphone permissions
- 4. Select devices in the meeting app
- 5. Check before applying changes (checklist)
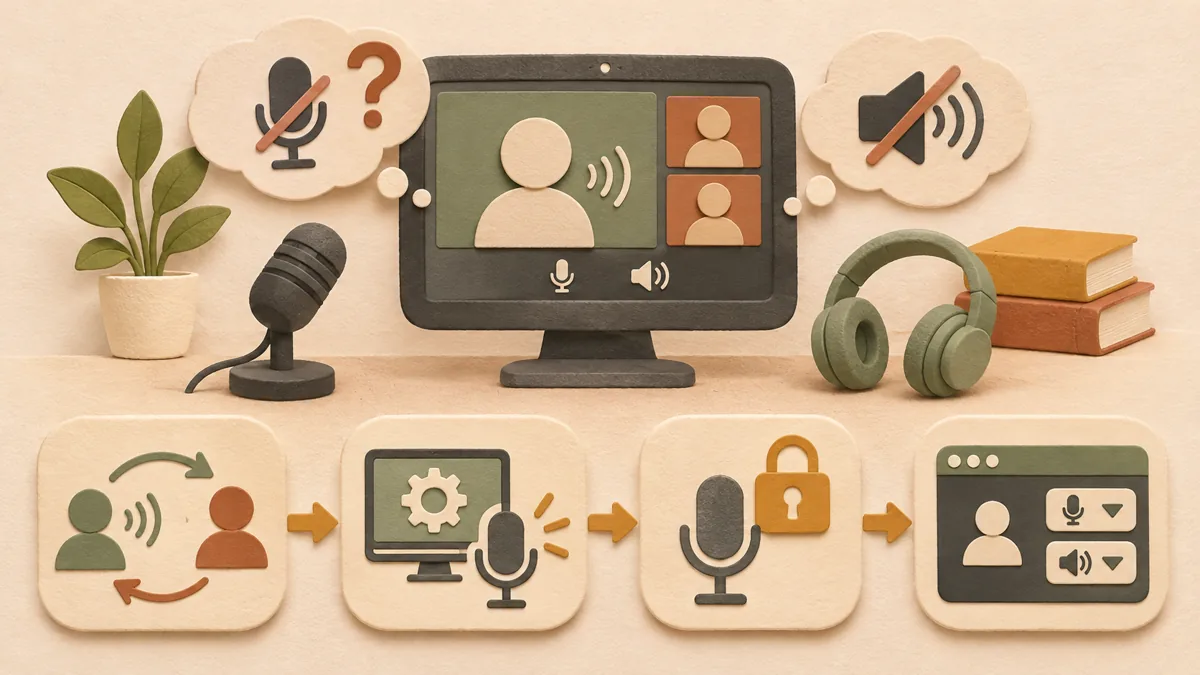
In a video meeting, “I can’t hear the sound” can mean two things. Others may not be able to hear my voice (a problem with my microphone), or I may not be able to hear the other person’s voice (a problem with my speakers or headset). This article first separates these two directions and then organizes the order for checking the Windows settings paths described in Microsoft support documents. It should be noted first that this was not tested directly with a specific meeting app.
1. First identify which direction is blocked
Ask the other person, “Can you hear my voice?” and decide what to check based on the answer. If they cannot hear me, check the microphone input. If I cannot hear them, check the speaker or headset output. If both are changed at once, it is impossible to know which setting helped, so separating the directions first is important.
2. Test the input device in Windows
Microsoft support documentation explains how to go to Settings > System > Sound, select a microphone under Input, and open its device properties. Under Input settings, click Start test and speak in your normal voice. After clicking Stop test, click Play to listen to the recorded sample. If the sample cannot be heard or is too quiet, adjust the input volume slider. If this test works normally, it is time to check the meeting app’s settings.
3. Check microphone permissions
On Windows’ Privacy & security > Microphone screen, check whether Microphone access and Let apps access your microphone are turned on. Regular installed programs (desktop apps) may not have individual app switches, so also check Let desktop apps access your microphone. The displayed names may differ in Korean Windows. The more detailed order for checking permissions is organized in the Windows microphone app permissions article ↗.
4. Select devices in the meeting app
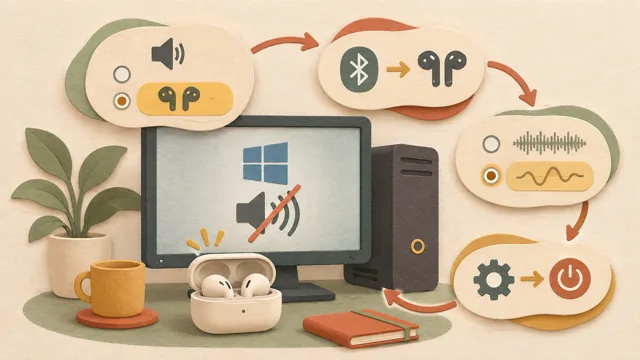
In the meeting app’s settings, select the microphone and speaker separately. The same headset may appear under multiple device names, so compare whether the name shown in the app matches the device used when speaking during the Windows input test. The menu location may vary by version, so it is safest to also consult the app’s official help. If you use wireless earbuds, you can also refer to the connection steps in the Bluetooth earbuds article ↗.
5. Check before applying changes (checklist)
① Confirm whether the other person can hear my voice. ② If they cannot, perform the Windows input test. ③ If the test works, check the microphone permissions. ④ Select the microphone and speaker separately in the meeting app. ⑤ Call again and get the other person’s response. Changing only one item at a time and writing down the result makes it possible to compare quickly if the same problem occurs again.
The official sources consulted were Microsoft Support: How to set up and test microphones in Windows ↗ and Microsoft Support: Turn on app permissions for your microphone in Windows ↗. Menu names may differ depending on the Windows version and language.
Sources and original article
Read the Korean original on Naver ↗
This article reflects public information available when it was written. Specifications, prices and schedules can change; check the linked official documentation.
This English edition was written and translated with AI assistance, with sources provided. For errors or additional information, please request a correction. Editorial policy